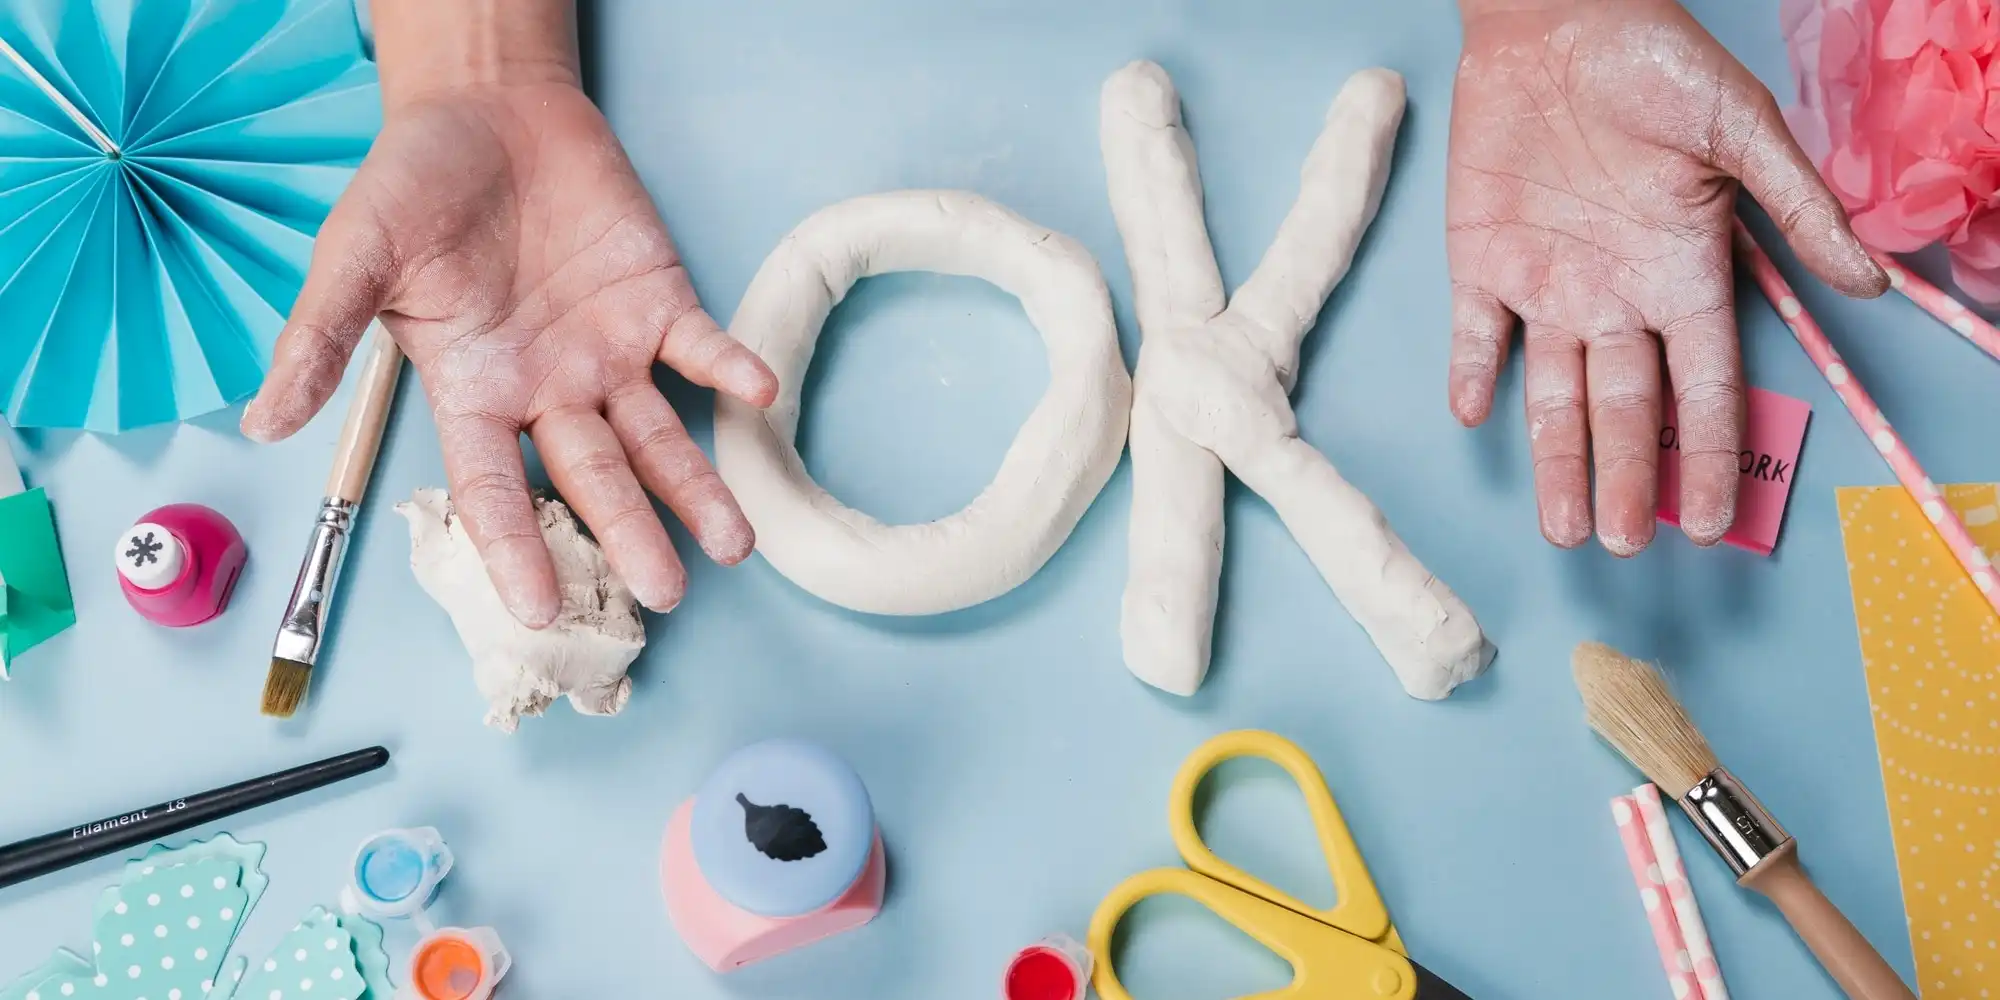
Are you a passionate DIY enthusiast looking to elevate your crafting skills? If so, diving into the world of EVA foam can be a game-changer. EVA foam, or ethylene-vinyl acetate, is a versatile and affordable material that opens up a realm of possibilities for crafting intricate models. In this step-by-step guide, we will explore the process of creating detailed and complex models using EVA foam, providing you with the skills to bring your imaginative ideas to life.
Materials You’ll Need:
Before we begin, make sure you have the following materials ready:
- EVA foam sheets of various thicknesses
- Craft knife or utility knife
- Cutting mat
- Heat gun
- Contact cement or hot glue gun
- Acrylic paint and brushes
- Sandpaper (varying grits)
- Sealant (optional)
Step 1: Design Your Model
Start by sketching your model on paper. Plan out the details, dimensions, and any intricate features you want to include. This initial design phase is crucial for a successful EVA foam project.
Step 2: Choose the Right EVA Foam Thickness
EVA foam comes in various thicknesses, and selecting the right one is vital for your project’s structural integrity. Thicker foam is suitable for larger, more robust elements, while thinner sheets work well for intricate details.
Step 3: Cut Out Your Patterns
Transfer your design onto the EVA foam sheets and carefully cut out the patterns using a craft knife. For intricate details, opt for a smaller, precision knife. A cutting mat will protect your work surface and prolong the life of your blades.
Pro tip: Label each foam piece with a corresponding number to streamline the assembly process.
Step 4: Heat Shaping
This is where the magic happens! Use a heat gun to heat the EVA foam pieces gently. Once heated, the foam becomes pliable, allowing you to shape and mold it as needed. Be cautious not to overheat, as this can cause deformation.
Step 5: Assembly with Adhesives
Assemble your model by gluing the pieces together. Contact cement provides a strong bond, while a hot glue gun is excellent for quick and secure connections. Work systematically, starting with the base and gradually adding layers.
Step 6: Refine and Sand
Smooth out any rough edges or imperfections with sandpaper. Start with a coarser grit and progress to finer grits for a polished finish. This step is crucial for achieving a professional-looking result.
Step 7: Add Details and Texture
Enhance your model by adding details and texture using additional layers of EVA foam or carving into the existing structure. This is where your creativity can truly shine!
Step 8: Paint Your Masterpiece
Once your model is assembled and refined, it’s time to bring it to life with color. Use acrylic paint to create depth and realism. Consider applying a sealant for added durability.
Step 9: Finishing Touches
Inspect your model for any final adjustments or details. Add any additional elements, and make sure everything is securely attached.
Step 10: Showcase Your Creation
Capture the beauty of your intricate EVA foam model by photographing or recording a video. Share your masterpiece with the world on social media or in crafting communities!
By following this comprehensive guide, you’ll unlock the potential of EVA foam and discover the joy of crafting detailed and complex models. Let your imagination run wild, and watch as your creations come to life with this versatile and accessible material. Happy crafting!
Note: Ensure to follow safety precautions when using tools and materials. Always work in a well-ventilated area and wear appropriate protective gear.
FAQ Section
Q1: Where can I purchase EVA foam sheets for crafting?
You can find EVA foam sheets at your local craft stores or order them online from reputable retailers like Amazon, Michaels, or specialty foam suppliers.
Q2: Can I use a regular knife for cutting EVA foam?
While a regular knife can work, it’s recommended to use a craft knife or utility knife with a sharp blade for cleaner and more precise cuts.
Q3: Is it necessary to use a heat gun for shaping EVA foam?
Yes, a heat gun is essential for making EVA foam pliable and easy to shape. It helps achieve intricate details and smooth curves in your models.
Q4: What kind of adhesive is best for assembling EVA foam pieces?
Contact cement is an ideal adhesive for a strong and lasting bond between EVA foam pieces. Hot glue can also be used for quicker assembly, especially for smaller projects.
Q5: Can I paint EVA foam with regular acrylic paint?
Yes, regular acrylic paint works well on EVA foam. Ensure to use a primer if needed and finish with a sealant for added durability.
Q6: How do I avoid overheat while shaping EVA foam with a heat gun?
Keep the heat gun at a moderate setting and constantly move it to prevent overheat. Test on a small scrap piece first to gauge the temperature.
